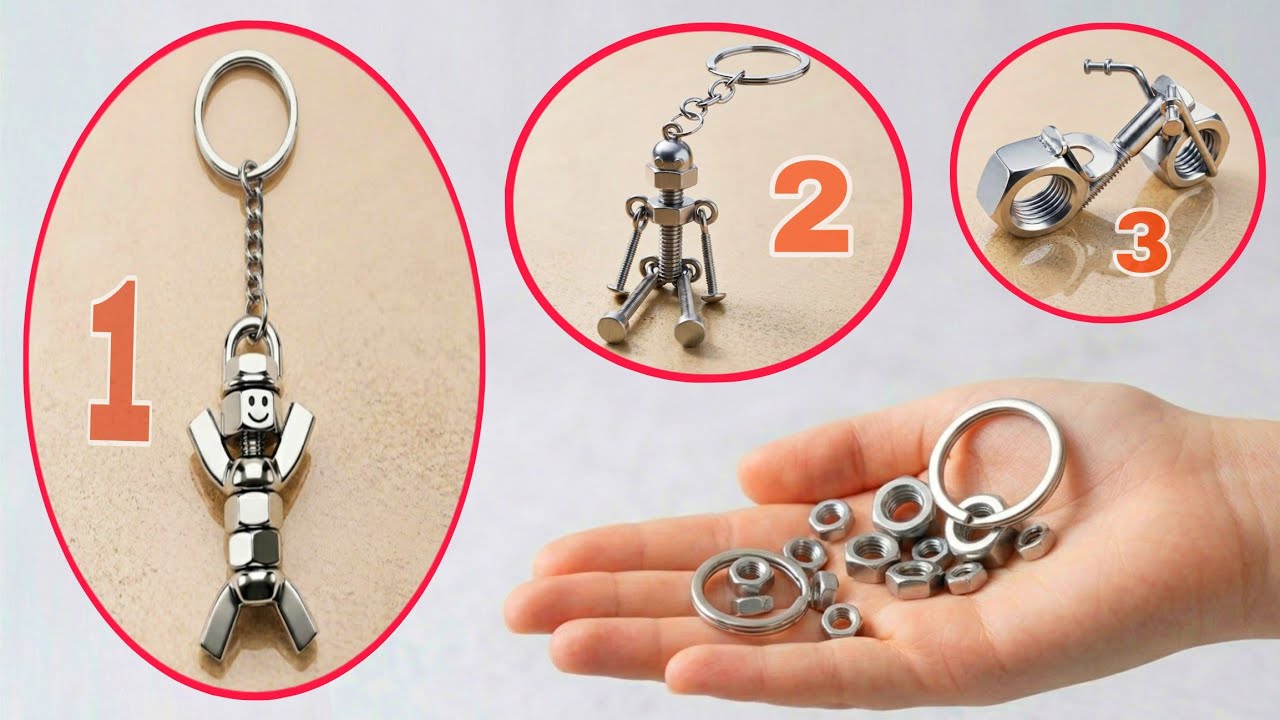
Transform 10 Scrap Metal Hex Nuts into Stunning DIY Art You Won’t Believe!
Transform Scrap Metal Hex Nuts into Stunning DIY Art
- Introduction
- Creative Ideas for Your Art
- Materials Needed for Your Project
- Step-by-Step Guide to Create Your Art
- Common Mistakes to Avoid
- FAQ
- Conclusion
Introduction
Have you ever looked at a pile of scrap metal and wondered what to do with it? Hex nuts, often overlooked, can turn into unique pieces of art that not only beautify your space but also showcase your creativity. By using these simple yet versatile materials, you can explore endless possibilities for transforming everyday items into stunning decor. Let’s dive into how you can bring this creative vision to life.
Creative Ideas for Your Art
Thinking outside the box can lead to amazing DIY art projects using hex nuts. Here are some unique ideas to inspire your creativity:
- 1. Wall Art: Create a stunning geometric piece for your living room or hallway.
- 2. Garden Decorations: Use hex nuts to form whimsical sculptures or markers in your garden.
- 3. Table Centerpieces: Combine hex nuts with other materials like wood or glass for an eye-catching table piece.
- 4. Jewelry: Fashion unique necklaces or bracelets from smaller hex nuts, perfect for adding a personal touch to your outfit.
- 5. Candle Holders: Stack and glue hex nuts to create a modern candle holder for ambience.
Materials Needed for Your Project
Before diving into your project, gather the essential materials. Here’s a simple list to help you start:
- Hex Nuts: Ensure you have a variety of sizes for different effects.
- Adhesive: Strong glue suitable for metal, such as epoxy or super glue.
- Base Material: This can be wood, canvas, or a sturdy surface for your art.
- Paint: Optional, for a colorful touch, opt for spray or acrylic paint.
- Protective Gear: Gloves and goggles to ensure your safety while working.
Step-by-Step Guide to Create Your Art
Now that you have your materials ready, follow these steps to create your masterpiece:
- Select your Design: Decide how you want to arrange your hex nuts. Sketching it out can be helpful.
- Prepare your Base: If using wood, sand it down for an even surface. Clean your base material to ensure the adhesive bonds well.
- Plan Your Layout: Before gluing, lay the hex nuts on the base to visualize your design.
- Glue the Nuts: Apply glue to the base or the hex nuts and press them down firmly. Let it dry as per product instructions.
- Paint (Optional): If desired, paint the hex nuts after the adhesive has dried. Consider sealing with a clear coat for longevity.
For an added touch, consider incorporating other materials such as beads or stones alongside your hex nuts for more texture and depth!
Common Mistakes to Avoid
As you embark on your DIY project, here are some common pitfalls to keep in mind:
- Not testing your adhesive first can lead to poor bonding and a weak structure.
- Rushing the drying time may cause your art to fall apart or not hold properly.
- Ignoring safety precautions like wearing gloves can lead to injuries while handling small metal pieces.
- Using too much adhesive can create a messy appearance, so use it sparingly.
- Failing to plan your layout can result in a cluttered or disorganized appearance, so take the time to strategize.
FAQ
What is the best glue for hex nuts?
Epoxy or super glue is often the best choice for bonding metal; they provide strength and durability.
Can I paint hex nuts?
Yes, you can paint hex nuts using spray paint or acrylics; just ensure you let them dry completely before using them in your projects.
How do I clean hex nuts before using them?
Simply wash them with soap and water, and make sure they are completely dry to ensure a good adhesive bond.
Conclusion
Transforming scrap metal hex nuts into stunning DIY art allows you to express your creativity while recycling materials. By following the steps and avoiding common mistakes outlined above, you can create unique pieces that will enhance your home decor. What will you create with your hex nuts? Share your thoughts in the comments below!