Master 7 Knots That’ll Impress Everyone – Discover This Widespread Technique!
Mastering 7 Knots to Enhance Your Crafting Skills
Introduction
Imagine working on your latest DIY project and realizing that you need a secure way to tie materials together. Whether you’re creating a garden trellis or crafting beautiful decorations, knowing how to tie appropriate knots can make the process smoother and more enjoyable. But with so many knots to choose from, where do you start? As you dive into the fascinating world of knot tying, you’ll discover techniques that not only simplify your projects but also add a touch of elegance to your work.
Benefits of Mastering Knots
Understanding the art of knot tying offers numerous advantages. Here are some key benefits:
- Improved skills: Mastering knots enhances your overall crafting abilities.
- Increased safety: Secure knots prevent accidents while working on projects.
- Creative options: A variety of knots can enhance aesthetics in your work.
Enhancing Your Creativity
Knots can transform ordinary materials into visually appealing designs. From simple macramé to elaborate knots in bouquets, using different techniques can elevate your projects.
Practical Applications in Everyday Life
Beyond crafting, knots have practical uses, such as organizing cables, securing bags, or even in outdoor activities like camping. They offer solutions in various situations, proving that knot tying is a useful skill.
Essential Knots to Learn
Here are seven knots that every crafter should master:
- Knot 1: Square Knot – A great all-purpose knot.
- Knot 2: Bowline – Useful for creating a fixed loop.
- Knot 3: Clove Hitch – Ideal for securing a line to a post.
- Knot 4: Figure Eight Knot – Offers excellent support and strength.
- Knot 5: Taut-Line Hitch – Keeps tension in lines while hiking or camping.
- Knot 6: Slip Knot – Easy to release, perfect for quick adjustments.
- Knot 7: Hitch Knot – Commonly used in sailing and securing cords.
Step-by-Step Instructions for Key Knots
Below are simple instructions for some of the essential knots:
Square Knot
- Cross the right end over the left.
- Bring the right end under the left.
- Repeat the process with the left end over the right.
- Finish by pulling both ends to tighten.
Bowline
- Create a loop in the rope.
- Pass the working end through the loop.
- Wrap around the standing line.
- Bring the working end back through the loop to secure.
Visual Details for Better Understanding
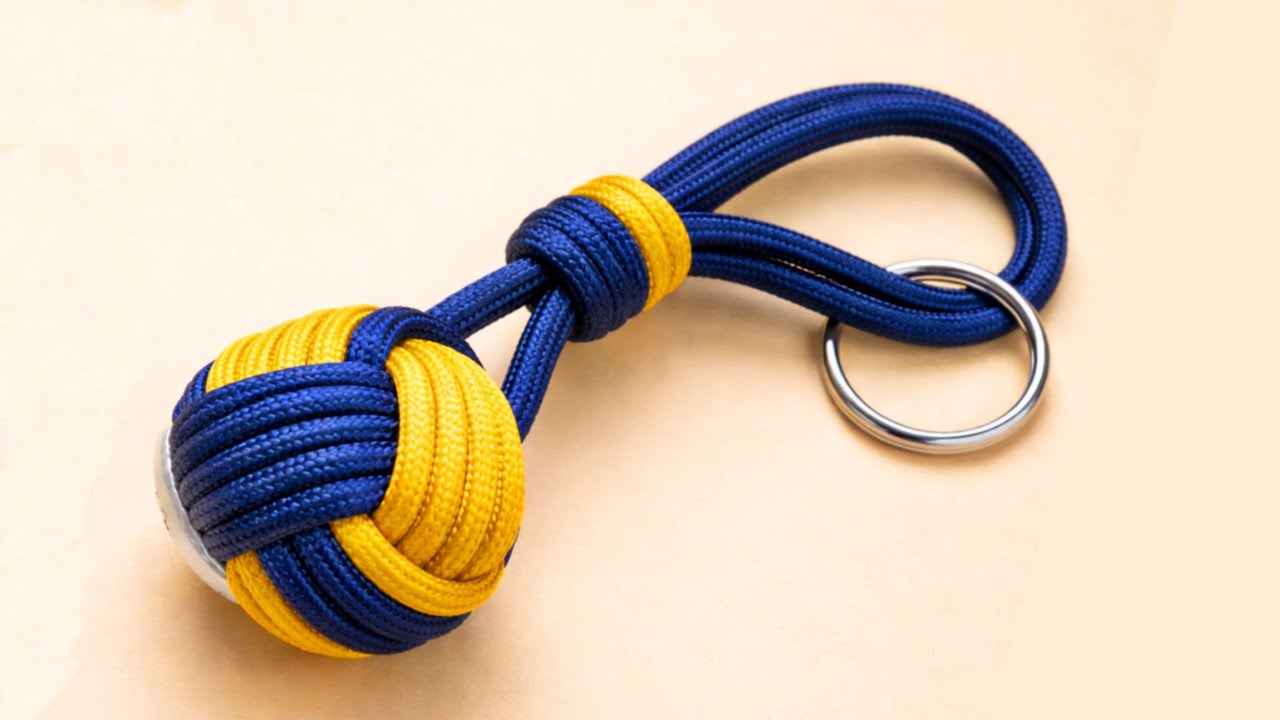
Consider using colorful ropes or cords when practicing these knots, as they provide clearer visual feedback. You can also refer to diagrams or videos online for additional guidance.
Common Knots Mistakes
Even the most experienced crafters can make mistakes when tying knots. Here are some common errors to avoid:
- Not testing the knot: Always check for security before relying on it.
- Using the wrong knot: Different situations require specific knots.
- Over-tightening: This can weaken the knot or damage the material.
Recognizing Improper Techniques
Watch for signs of an improperly tied knot, such as slippage or uneven tension. A well-tied knot should hold firm and be easy to untie when needed.
FAQs
What is the best knot for securing items? The square knot is highly effective for most bundling tasks, while the bowline is ideal for creating loops.
Can you use knots in gardening? Absolutely! Knots can help secure plants to stakes or support trellises.
How do I practice tying knots? Use different types of ropes and materials, and practice in a calm environment until you feel confident.
Conclusion
Mastering knots not only enhances your crafting skills but also incorporates safety and creativity into your projects. As you explore these techniques, what project do you think will benefit most from your new knot-tying skills? Share your thoughts in the comments!