Transform Your Lighter with 5 Elegant Rope Knot Techniques You Can DIY!
Transform Your Lighter: 5 Elegant Rope Knot Techniques You Can DIY
Introduction
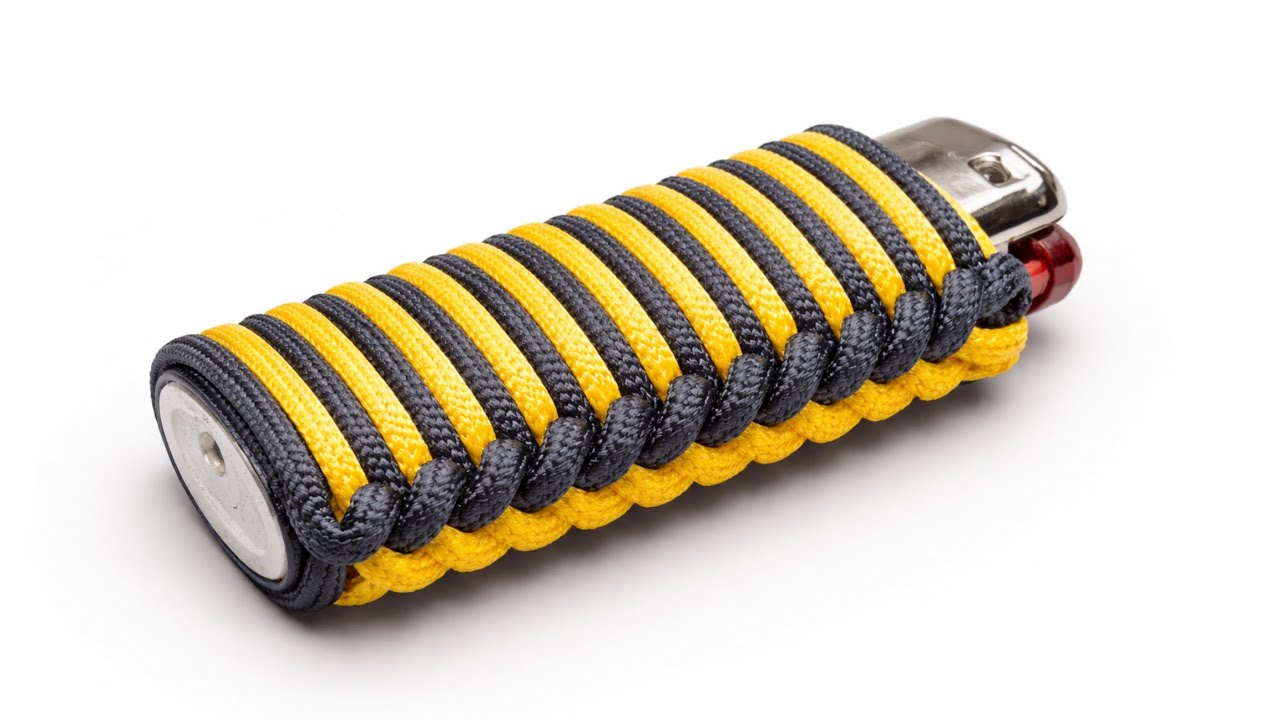
Have you ever found yourself with a dull, plain lighter that just doesn’t feel special? Maybe it sits at the bottom of your bag, barely noticed. You might wonder how to make it stand out while also expressing your creativity. Transforming your lighter with elegant rope knot techniques can be both a fun project and a way to personalize your everyday items. Keep reading to discover how to decorate your lighter beautifully and uniquely.
Required Materials
Before diving into the techniques, it’s important to gather everything you’ll need for this DIY project.
- 1 lighter (any standard type)
- Natural or synthetic rope (about 1-2 meters)
- Scissors
- Hot glue gun or strong adhesive (optional)
Having these materials ready will streamline the process and help you focus on creating your stunning designs.
Step-by-Step Techniques
Now that you have your materials, let’s explore five elegant rope knot techniques that will enhance your lighter.
1. Simple Knot
- Cut a piece of rope about 30 cm long.
- Wrap it around the body of the lighter until you reach your desired look.
- Tie a simple knot at the end to secure it, adjusting tightness as needed.
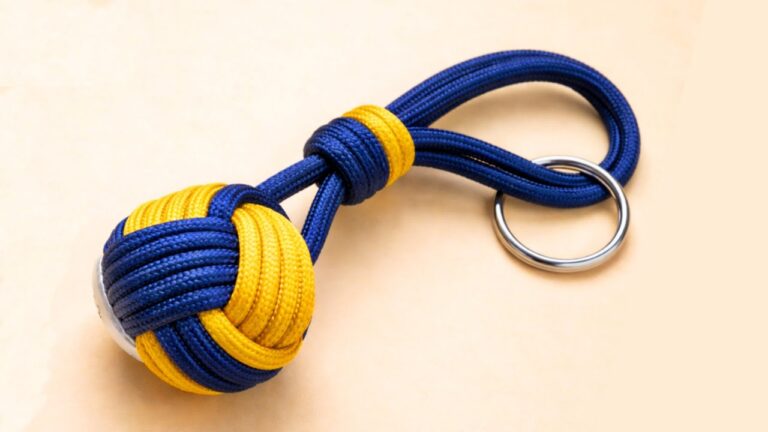
2. Fisherman Knot
- Measure two lengths of rope (around 25 cm each).
- Overlap the two pieces at their midpoints, forming a cross.
- Weave each end through the loop created, pulling it tight for a secure hold.
3. Double Knot
- Take a rope length of 40 cm.
- Wrap it around the lighter twice.
- Tie a double knot at the top to finish off for a robust design.
4. Burlap Knot
- Cut two pieces of burlap twine, each about 20 cm long.
- Tie the twines around the lighter, letting some strands hang loosely for an organic feel.
- Secure them with a drop of hot glue if necessary.
5. Braided Knot
- Prepare three strands of rope, each around 25 cm.
- Braid them together tightly.
- Wrap the braid around the lighter and tie it off securely at one end.
These elegant rope knot techniques not only revamp your lighter but also provide a touch of personality and style. Feel free to mix and match or create variations that suit your tastes!
Common Mistakes to Avoid
When working on your lighter transformations, consider these common pitfalls to enhance your results:
- Using rope that is too thick can make knots bulkier and less refined.
- Neglecting to secure your knots properly may lead to them coming undone over time.
- Skipping a glide over the lighter with sandpaper can cause the glue to not bond well.
- Choosing non-water-resistant adhesives can lead to deterioration, especially if you carry it outdoors.
FAQ
1. Can I use any type of rope for this project?
Yes, both natural and synthetic ropes work well. Choose based on your aesthetic preference.
2. How long does the adhesive take to dry?
Typically, hot glue dries within a few minutes, while other adhesives might take longer, so check the package instructions.
3. Is this project safe for kids?
While the techniques can be engaging, adult supervision is recommended, especially when using a hot glue gun.
Conclusion
Transforming your lighter with elegant rope knot techniques adds a personal touch that reflects your style. With these practical tips, you can create a unique accessory that stands out. Which design are you excited to try first?