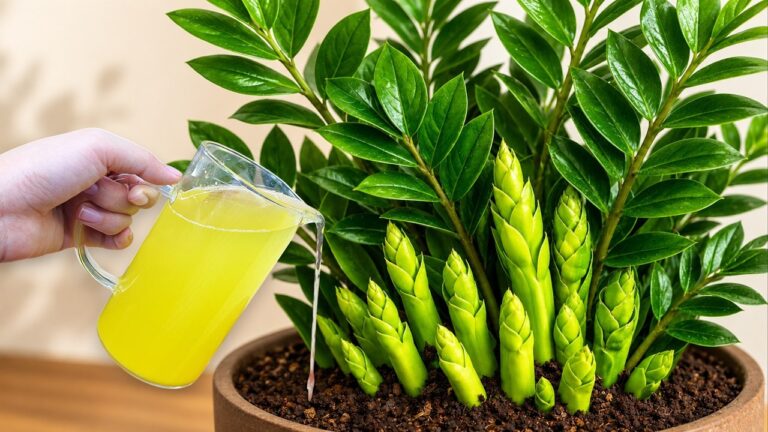
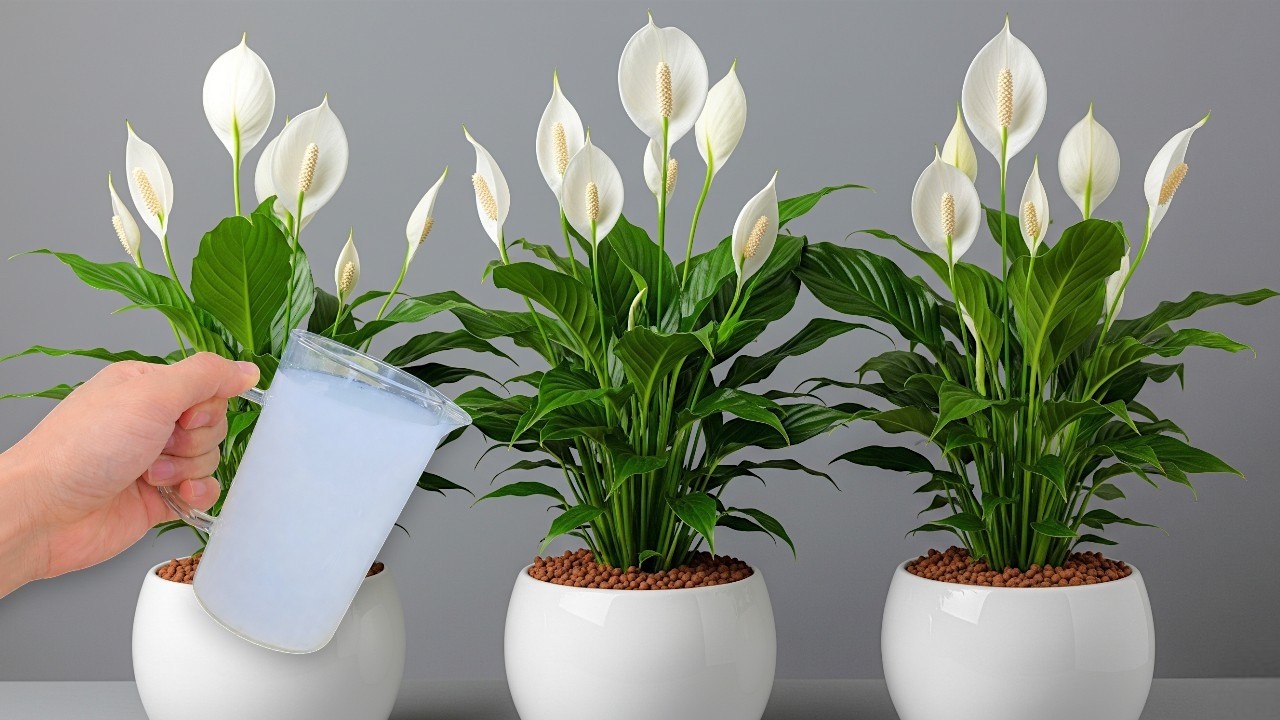
Transform Any Plant with This 1 Glass Trick for Blooming Flowers!
Transform Your Garden with This Simple Trick for Blooming Flowers
- Introduction
- Understanding the Trick
- Using the Glass for Your Plants
- Common Mistakes to Avoid
- FAQ
- Conclusion
Introduction
Have you ever felt frustrated watching your beloved plants struggle to bloom, despite your best care? You may have tried various fertilizers, changed their location, or even adjusted their watering schedule. It’s easy to feel disheartened when your efforts don’t yield the vibrant blooms you were hoping for. What if there was a simple trick involving just one piece of glass that could breathe new life into your flowers? Let’s explore this fascinating method together.
Understanding the Trick
This simple trick utilizes a glass container to create a mini-greenhouse effect that promotes blooming. By trapping moisture and warmth, it caters to the needs of the plants, especially during cooler months or for varieties that need a bit more care. In this section, we will delve deeper into how this method works.
Why It Works
Plants naturally thrive when they are in a warm, humid environment. A glass container retains heat and moisture, which can stimulate growth. Here’s how the glass works:
- Captures humidity: As the air inside the glass warms up, moisture evaporates and then condenses on the glass walls, creating a humid environment.
- Regulates temperature: The glass insulates the plant, protecting it from sudden temperature drops.
- Encourages photosynthesis: The clear material allows sunlight to penetrate, providing energy essential for blooming.
Choosing the Right Glass
While any transparent glass can work, selection can impact results:
- Opt for a medium-sized glass to ensure ample space for plant growth.
- Consider using a jar with a wide mouth for easier plant access.
- Make sure it’s clean to prevent any contamination that may harm your plants.
Using the Glass for Your Plants
Now that you understand the benefits, let’s dive into how to effectively incorporate this technique into your gardening routine.
Step-by-Step Setup
Follow these easy steps to get started:
- Select your plant: Choose a flower that needs a boost.
- Prepare the glass: Verify it’s clean and ready to use.
- Place the glass: Position it over the plant, ensuring it doesn’t touch the leaves.
- Monitor regularly: Check for condensation; if it’s too humid, briefly remove the glass to let it breathe.
Tips for Success
To maximize results, keep these tips in mind:
- Use in conjunction with regular watering to ensure soil moisture.
- Avoid placing fragile blossoms directly under the glass to prevent damage.
- Give your plants a break from the glass once they show signs of healthy growth.
Common Mistakes to Avoid
Even simple techniques can have pitfalls. Here are some common mistakes to watch out for:
- Overusing the glass: Keeping it on for too long can lead to mold.
- Ignoring plant needs: Not all plants thrive under glass; make sure your choice is suitable.
- Forgetting to check moisture levels: Too much moisture can be just as harmful as too little.
- Placing in direct sunlight: Intense heat can scorch your plants.
- Using a dirty glass: Contaminants in the glass can harm your plant.
FAQ
How often should I use the glass trick? You can use the glass trick as needed, particularly during the flowering season or when you notice your plant isn’t thriving.
Can I use this trick on indoor plants? Yes, this method works wonderfully for indoor plants that need extra humidity and warmth.
What types of flowers benefit the most? Generally, tropical or humidity-loving flowers like orchids and fuchsias see the best results from this technique.
Conclusion
Utilizing a glass container can significantly enhance your plant’s blooming potential by creating an optimal environment. With the right glass and care, you can revitalize your garden easily. What flowers will you try this trick on first?