Revive 5 Struggling Orchids at Home with This 100% Effective Method!
Revive Struggling Orchids at Home with This Effective Method
- Introduction
- Understanding Orchid Needs
- Common Problems Faced by Orchids
- Effective Revival Techniques
- Mistakes to Avoid
- FAQ
- Conclusion
Introduction
Seeing your beloved orchids droop and lose their vibrant colors can be disheartening. The once-thriving plants now seem lifeless, leaving you questioning your care routine and wondering if they can be saved. You may feel overwhelmed by the thought of what might have gone wrong. With the right approach and some attention, you can help your orchids regain their health and beauty. Let’s explore effective methods to revive your struggling orchids and bring them back to life.
Understanding Orchid Needs
Before diving into revival methods, it’s essential to understand what orchids thrive on. These beautiful plants have specific requirements for light, water, and nutrients.
Light Requirements
Most orchids prefer bright, indirect sunlight. Here are some points to consider:
- Place them near east or west-facing windows to provide them with soft light.
- Avoid direct sunlight, which can scorch the leaves.
Watering Techniques
Watering is crucial for orchid health. Follow these guidelines:
- Check the potting medium; if it feels dry, it’s time to water.
- Water thoroughly until it drains out of the bottom, ensuring none is stagnant.
- Allow the medium to dry slightly between watering sessions.
Common Problems Faced by Orchids
Even with the best intentions, drawbacks can arise. Identifying the issue is the first step to effectively revive your orchids.
Overwatering
Overwatering can lead to root rot, a common problem for many orchid owners. Signs include:
- Yellowing leaves
- Wilting and soft roots
Insufficient Light
Lack of light can inhibit growth and flowering, causing orchids to become weak. Signs of inadequate lighting include:
- Pale leaves
- Slow growth
Effective Revival Techniques
Now that we’ve discussed common problems, let’s look at some effective techniques to revive your orchids.
Assess the Health of the Roots
Strong roots are vital to an orchid’s recovery. Here’s what to do:
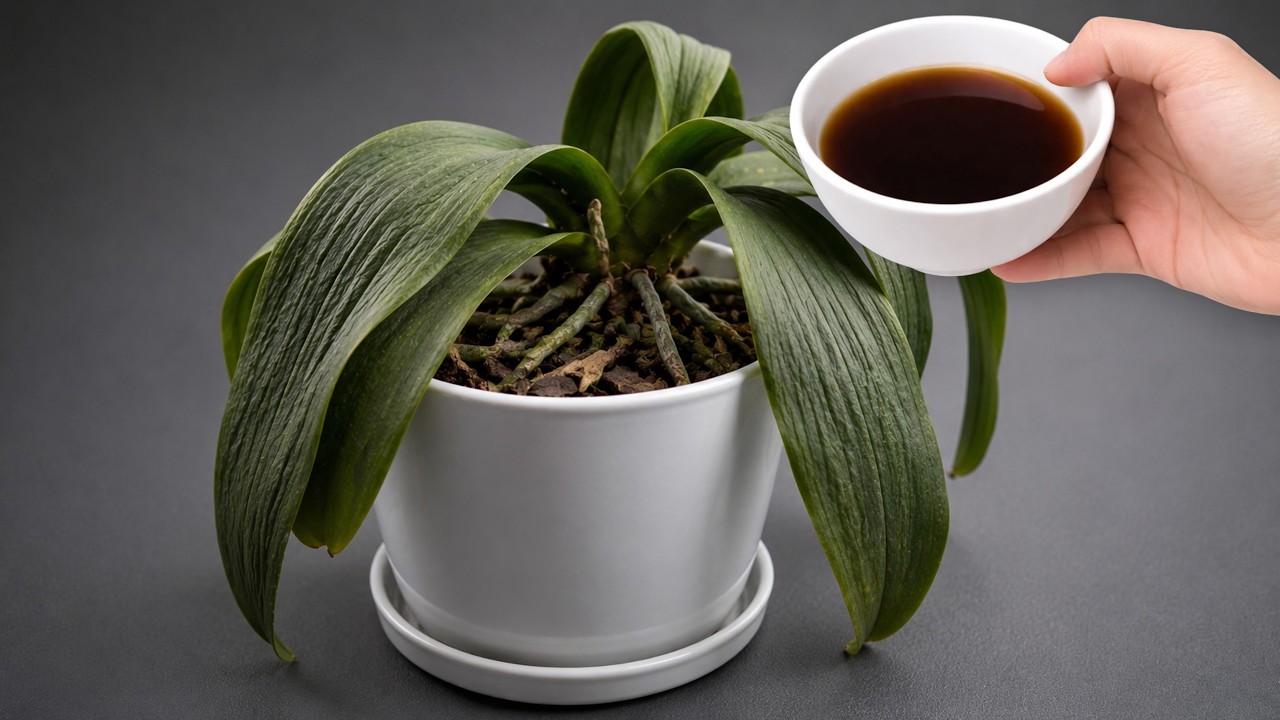
- Remove the orchid from its pot and inspect the roots.
- Trim away any mushy or blackened roots with sterile scissors.
Repotting for Better Drainage
Proper potting is crucial for stability and moisture control. For repotting:
- Select a new pot that is the right size, allowing for good air circulation.
- Use a specialized orchid mix that promotes drainage and aeration.
Adjusting Water and Light Conditions
Making simple adjustments can greatly impact recovery:
- If overwatered, reduce watering frequency to once every two weeks.
- For low-light situations, move your orchid closer to a light source.
Mistakes to Avoid
When caring for your orchids, avoiding common pitfalls can significantly enhance their recovery process.
1. Ignoring Signs of Distress
Timely intervention is key; neglecting signs of distress can lead to irreversible damage.
2. Incorrect Watering Frequency
Overwatering or underwatering can each be detrimental. Monitor moisture levels carefully.
3. Poor Potting Choices
Using regular potting soil instead of orchid mix can hinder root health due to lack of drainage.
4. Skipping Fertilization
Orchids still need nutrients, even in a recovery phase. Use an orchid-specific fertilizer to help.
FAQ
How often should I water my orchids?
Watering frequency varies, but generally, once every 1-2 weeks is ideal, allowing the potting medium to dry out slightly in between.
What type of light is best for orchids?
Orchids thrive in bright, indirect sunlight. East or west-facing windows are perfect for providing the right light conditions.
How can I tell if my orchid is dead?
Check for dry, shriveled roots and leaves that are entirely brown and limp. If most parts are still green, there might be hope.
Conclusion
By understanding your orchids’ needs and applying effective revival methods, you can restore their health and beauty. Have you ever managed to revive an orchid? Share your experiences in the comments!