Create a Stunning Star Knot Keychain in 5 Easy Steps!
Create a Beautiful Star Knot Keychain in 5 Simple Steps
Introduction
Have you ever found yourself looking for a way to bring a personal touch to your accessories? A simple, engaging project like creating a keychain can fill that need and provide a delightful item to carry with you. You can express your creativity and crafting skills while making something uniquely yours. Let’s explore how you can create a stunning star knot keychain in just five easy steps.
Required Materials
Before diving into the crafting process, it’s essential to gather all the necessary materials. Here’s what you will need:
- Paracord or any durable cord in your favorite colors.
- Keyring for attaching your creation.
- Scissors for cutting the cord to the desired length.
- Glue or a lighter to seal the ends of the cord.
- Measuring tape or ruler to measure the cord length accurately.
Gathering these materials will ensure a smooth crafting experience, so lay everything out in your workspace before beginning.
Making the Knot
Now that you have everything ready, let’s get into the steps of making your star knot keychain.
1. Measure and Cut Your Paracord
To start, measure a length of paracord. A good length is about 3-4 feet, which gives you enough cord to work with for the knot. Cut the paracord using your scissors and set it aside.
2. Create the First Loop
Take your piece of paracord and fold it in half. This will be the starting point of your star knot. Hold the center point and twist the two ends, forming a loop. Make sure the ends are even when you create your first loop to keep the knot looking tidy.
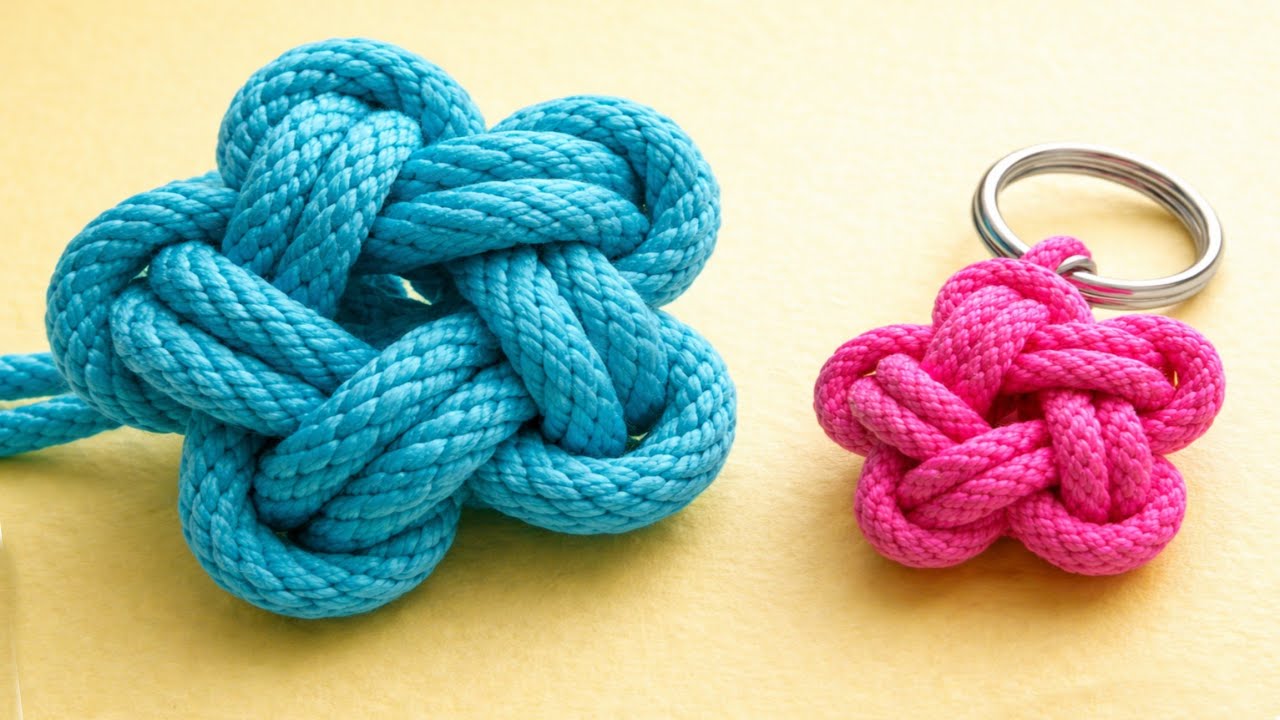
3. Form the Star Knot
- Take the right cord and wrap it around the left cord.
- Pass the right cord behind and through the loop created by the left cord.
- Pull the ends to tighten the knot, ensuring it stays secure.
Repeat this process to build the layers of your star knot until you achieve the desired look. Different approaches can create varied patterns, so feel free to experiment.
4. Secure the Ends
Once you are happy with the star knot’s appearance, it’s time to secure the ends to prevent unraveling. You can do this by applying glue to the cut ends or carefully using a lighter to melt and seal the cord.
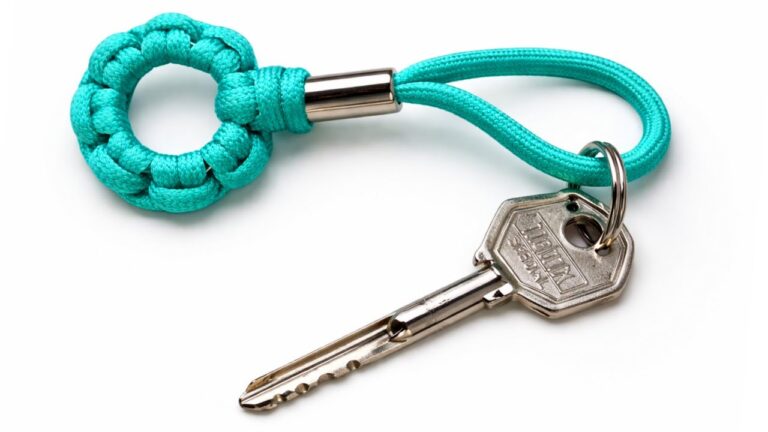
5. Attach the Keyring
Finally, take your completed star knot and slide it onto your keyring. You can adjust the placement to ensure it sits comfortably. This final touch transforms your knot into a delightful keychain you can show off.
Common Mistakes to Avoid
Even simple projects can have pitfalls. Here are a few mistakes to watch out for:
- Using cords that are too short, making the knot difficult to tie.
- Not pulling the cords tight enough, leading to an uneven star knot.
- Forgetting to seal the ends, which may result in fraying over time.
- Getting the loop size misaligned, causing the pattern to appear irregular.
- Skipping the measurement step, which can affect the overall look of the keychain.
FAQ
What type of cord is best for making a star knot keychain?
Paracord is a great choice due to its strength and availability in various colors.
Can I customize the size of the star knot?
Yes, by adjusting the length of the cord and the method of wrapping, you can create different sizes of star knots.
How do I care for my keychain once it’s made?
Simply clean it with a damp cloth, avoiding harsh chemicals to maintain its appearance.
Conclusion
Creating a beautiful star knot keychain is a rewarding activity that allows you to express your creativity. With just a few simple steps, you can have a unique accessory. What colors will you use for your star knot keychain? Share your thoughts in the comments!