One Cup a Week: Grow 1001 Orchids Roots and Flowers Instantly!
One Cup a Week: Grow Orchids From Roots and Flowers Instantly
Introduction
Have you ever admired a vibrant orchid and wondered if you could grow one at home? Perhaps you’ve tried before and faced challenges that left you feeling discouraged. The good news is that you can effectively cultivate orchids using simple techniques, and it starts with just one cup a week. Reading on will equip you with the knowledge to nurture beautiful orchids effortlessly.
Understanding Orchid Roots
To successfully grow orchids in your home, it’s vital to know the unique characteristics of orchid roots. Unlike typical houseplants, orchid roots perform photosynthesis and absorb moisture from the air, not just soil. This understanding is crucial for their care.
1. Types of Orchid Roots
Orchids feature aerial and terrestrial roots. Aerial roots are what you will mostly deal with in indoor cultivation, as they can absorb humidity. Terrestrial roots grow in the ground and may require different care strategies.
2. Signs of Healthy Roots
- Firmness indicates good health.
- Green tips are a sign of active growth.
- Silvery roots suggest they need moisture.
3. Importance of Proper Potting
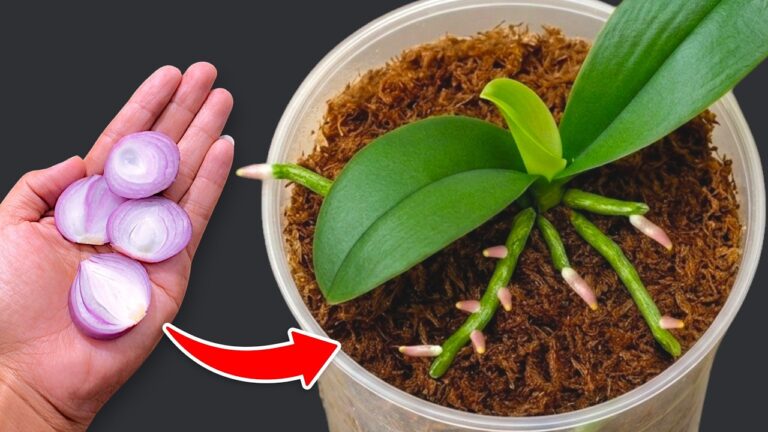
Choosing the right potting medium is essential for healthy roots. Instead of traditional potting soil, consider a bark mix or sphagnum moss, which allows for better aeration and drainage while still holding moisture.
Growing Orchids in a Cup
Now that you understand the importance of roots, let’s explore how to grow orchids effectively in just one cup a week. This method simplifies care and keeps your plants thriving.
1. Gather Your Materials
For this project, you will need:
- A clear plastic cup or pot with drainage holes
- Specialized orchid potting mix
- Water (preferably distilled)
- Orchid flowers or healthy roots
2. Planting Steps
- Fill the cup with potting mix, leaving enough space for the roots.
- Place the orchid roots in the mix, ensuring they are spread out and not packed tightly.
- Water lightly, ensuring the moisture settles but does not drown the roots.
- Keep the cup in a location with bright, indirect sunlight.
- Monitor moisture levels weekly; water only when the top inch of soil feels dry.
3. Fertilization Tips
To encourage growth, you can fertilize your orchids with a diluted orchid fertilizer every four weeks. Make sure this step aligns with your watering routine to avoid over-fertilization.
Common Mistakes to Avoid
Growing orchids can be a rewarding experience, but it’s easy to make missteps. Here are several common pitfalls to be aware of:
1. Overwatering
One of the biggest mistakes is overwatering orchids. They thrive in slightly dry conditions, so be sure to allow the potting mix to dry between waterings.
2. Poor Light Conditions
Orchids do best with indirect sunlight. Too much direct light can scorch their leaves, while too little light can hinder growth.
3. Neglecting Humidity
Orchids thrive in humid environments. If your home is dry, consider placing a humidity tray or misting your plants regularly to maintain adequate moisture levels.
FAQ
How often should I water my orchids?
Water your orchids approximately once a week, allowing the top of the potting mix to dry out before re-watering.
Can I use regular potting soil for orchids?
No, regular potting soil can retain too much moisture. Instead, use a specific orchid mix that promotes drainage.
What is the best temperature for growing orchids?
Orchids prefer temperatures between 65°F and 75°F during the day and slightly cooler at night.
Conclusion
With the right understanding and approach, you can grow beautiful orchids by dedicating just one cup a week to your plants. By avoiding common mistakes and following proper care guidelines, your indoor garden can flourish. What unique varieties of orchids are you excited to try growing?