Transform Your Space: 5 Magical Light Switch Makeovers You Can DIY!
Transform Your Space with DIY Light Switch Makeovers
- Introduction
- Creative Ideas for Light Switch Makeovers
- Step-by-Step Tutorial
- Common Mistakes to Avoid
- FAQ
Introduction
Have you ever walked into a room and felt that something was missing? Often, it’s the little details that elevate a space, like your light switches. These everyday items don’t have to be boring; they can be a reflection of your personal style. Whether you have outdated switches or just want to add a splash of creativity, transforming your light switches can make a noticeable impact in your home. Let’s explore some inspiring ideas and practical tips to revamp your light switches.
Creative Ideas for Light Switch Makeovers
When it comes to giving your light switches a new look, the possibilities are endless. Here are some creative ideas to consider:
1. Decorative Switch Plates
Switch plates can be dressed up in many ways. You can paint them a bold color, decoupage with beautiful paper, or even add embellishments. This is a chance to express your style!
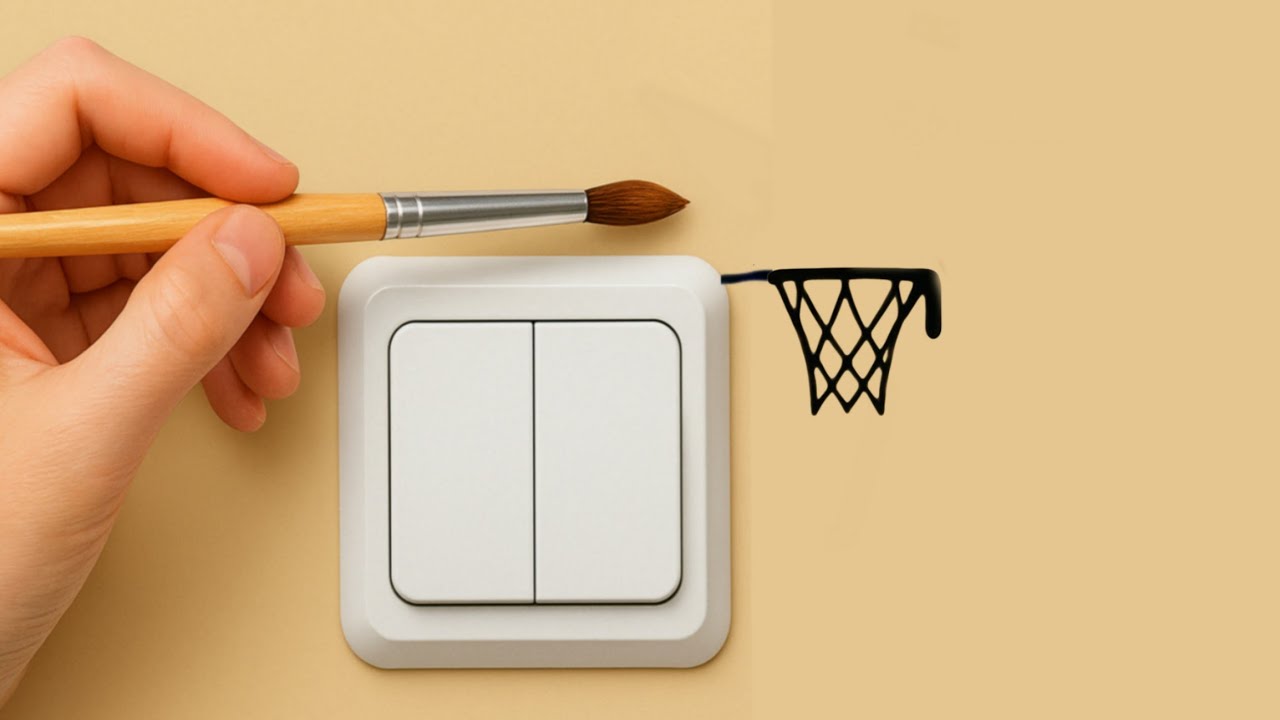
2. Doodle Your Design
Use a permanent marker to draw fun designs directly on the switch plate. Try doodling flowers, geometric shapes, or even quotes that resonate with you. This adds a personal touch to every light switch.
3. Use Washi Tape
Washi tape is a simple and versatile solution for quick makeovers. You can use it to create patterns or even cover the entire plate for a fresh appearance. The best part? It’s easy to change if you ever want a new look.
Step-by-Step Tutorial
Once you’ve chosen your design, it’s time to dive into the project! Below are the materials you’ll need and detailed steps to create a beautiful light switch makeover.
Required Materials
- New light switch plate (if replacing)
- Paint or Washi tape
- Paintbrushes or application tools
- Permanent markers
- Glue or decoupage medium
Instructions for a Painted Switch Plate
- Remove the existing switch plate by unscrewing it gently.
- Clean the surface to ensure that paint adheres properly.
- Apply a base coat of paint; let it dry completely.
- Decorate using stencils or freehand designs, and let it dry.
- Reattach the plate to the wall once everything is dry.
Quick Tips for a Successful Makeover
- Use painter’s tape for clean lines when painting.
- Choose non-toxic paints and materials, especially for children’s rooms.
- Consider your room’s color scheme to ensure harmony.
Common Mistakes to Avoid
Even simple projects have pitfalls you should watch for. Here are some common mistakes to avoid when transforming your light switches:
1. Skipping Surface Preparation
Not cleaning or sanding the surface can lead to poor adhesion and a messy look. Always prepare surfaces before starting.
2. Overloading with Decoration
While creativity is encouraged, too much decoration can make the switch overwhelming. Aim for balance.
3. Ignoring Electrical Safety
Always ensure that the power is off before touching any electrical components, including the light switches. Safety first!
FAQ
How do I safely remove a light switch plate?
Make sure to turn off the power at the circuit breaker. Use a screwdriver to remove the screws holding the plate in place, and gently pull it away from the wall.
Can I use regular paint for switch plates?
Yes, but it’s best to use non-toxic, durable paint that can withstand wear. Spray paint can also work well for a smoother finish.
What materials should I avoid using for a makeover?
Avoid using any materials that can’t stand up to wear and tear, such as paper that isn’t protected or materials that may flake off or peel.
Conclusion
Transforming your light switches is not just about aesthetics—it’s a simple way to personalize your space. By following the ideas and tips shared, you can ensure a charming update that complements your home. What design ideas are you excited to try? Share your thoughts in the comments!