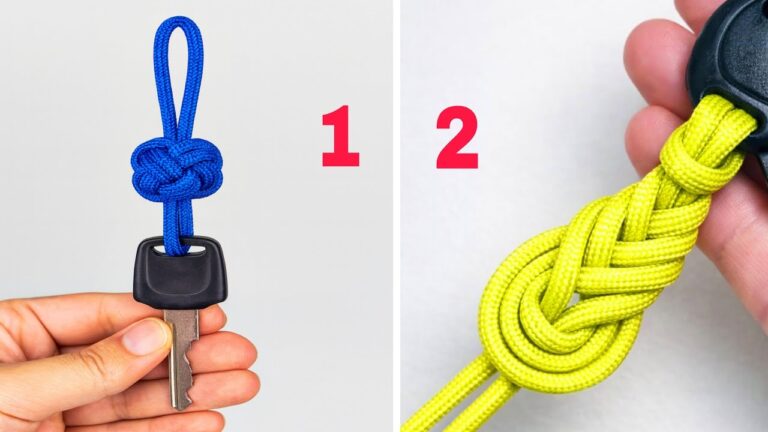
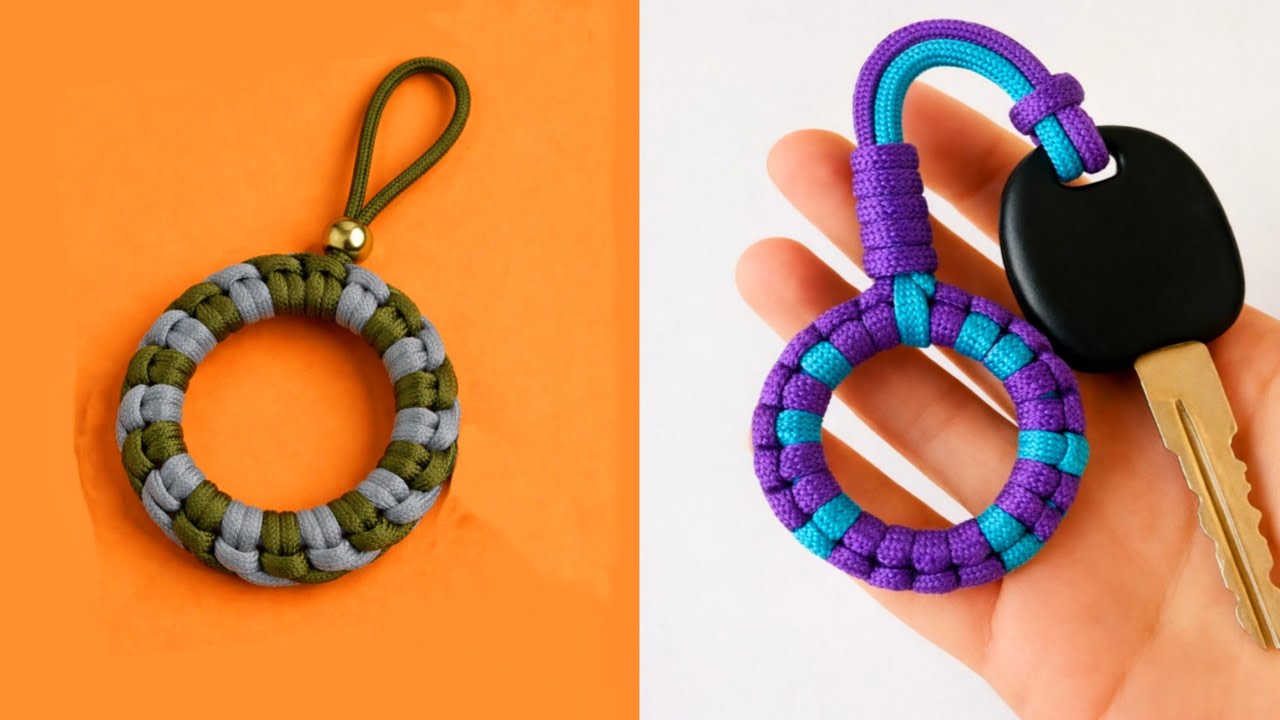
Master 7 Easy Keychain Knots Everyone Is Raving About!
Mastering 7 Easy Keychain Knots for Personal Touches
- Introduction
- Materials Needed
- Step-by-Step Knotting Techniques
- Common Mistakes to Avoid
- FAQ
- Conclusion
Introduction
Have you ever wanted to add a personal touch to your bags or keys? Creating unique keychain knots can be a delightful way to express your creativity. Whether you’re looking to showcase your style or simply want to enjoy a thoughtful DIY project, making keychain knots can become a cherished hobby. It’s time to explore the wonderful world of knotting, so keep reading to discover how to get started!
Materials Needed
Before diving into the exciting world of knot-making, gather the necessary materials. Having everything at hand will make the process smoother and more enjoyable. Here’s a list of essential items you’ll need:
- Paracord or any sturdy cord of your choice
- Scissors for cutting the cord
- Lighter to seal the ends of the cord
- A keyring or clip
- Measuring tape
Step-by-Step Knotting Techniques
With your materials ready, let’s explore how to master seven different knots that can elevate your keychain-making game.
1. The Lanyard Knot
- Cut a piece of paracord, around 3 feet long.
- Create a loop with the cord.
- Wrap the working end around the standing end, threading it through the loop.
- Pull both ends to tighten the knot.
2. The Cobra Knot
- Cut two lengths of paracord, one longer and one shorter.
- Secure the longer cord to a surface or keyring.
- Weave the shorter cord over and under the longer one in a repetitive motion.
- Tighten and secure once you reach the desired length.
3. The Double Fisherman’s Knot
- Overlap two cords by a few inches.
- Wrap one cord around the other several times and pass it through the loop.
- Repeat this step with the other cord.
- Pull both ends to tighten the knot.
4. The Figure-Eight Knot
- Form a loop in the cord, letting one end be longer.
- Wrap the long end around the short end.
- Feed the long end back through the loop.
- Tighten the knot to secure it in place.
5. The Bowline Knot
- Create a small loop with the cord.
- Thread the end of the cord through this loop from underneath.
- Wrap it around the standing part of the cord.
- Bring the end back through the loop.
- Tighten the knot, ensuring it’s secure.
6. The Carrick Bend
- Cross the two cords to form an overhand knot.
- Feed the ends through the resultant loops formed.
- Pull each end evenly to tighten.
7. The Alpine Butterfly Knot
- Make a loop in the middle of the cord.
- Bring the two ends down to form another loop.
- Thread the top loop through the bottom one.
- Tighten the knot by pulling on all three sections.
Common Mistakes to Avoid
Every hobby comes with learning curves, and knot-making is no exception. Here are common pitfalls to watch out for to enhance your knot-tying skills:
- Not measuring your cord accurately may lead to uneven knots.
- Skipping sealing the ends can result in fraying.
- Pulling too tightly can damage the cord.
- Choosing the wrong type of cord may affect the durability of the knots.
- Neglecting to practice often may hinder skill improvement.
FAQ
What types of cord are best for making keychains? Paracord and nylon cords are ideal due to their strength and durability.
Can I use these knots for other crafts? Absolutely! These knots can be used in various projects, such as working with jewelry or camping gear.
How long should the cord be for my keychain? Generally, aim for about 2 to 3 feet of cord for most keychain knots.
Conclusion
Mastering these seven easy keychain knots not only allows you to create unique accessories but also enhances your DIY skills. What knot are you excited to try first? Share your thoughts in the comments!