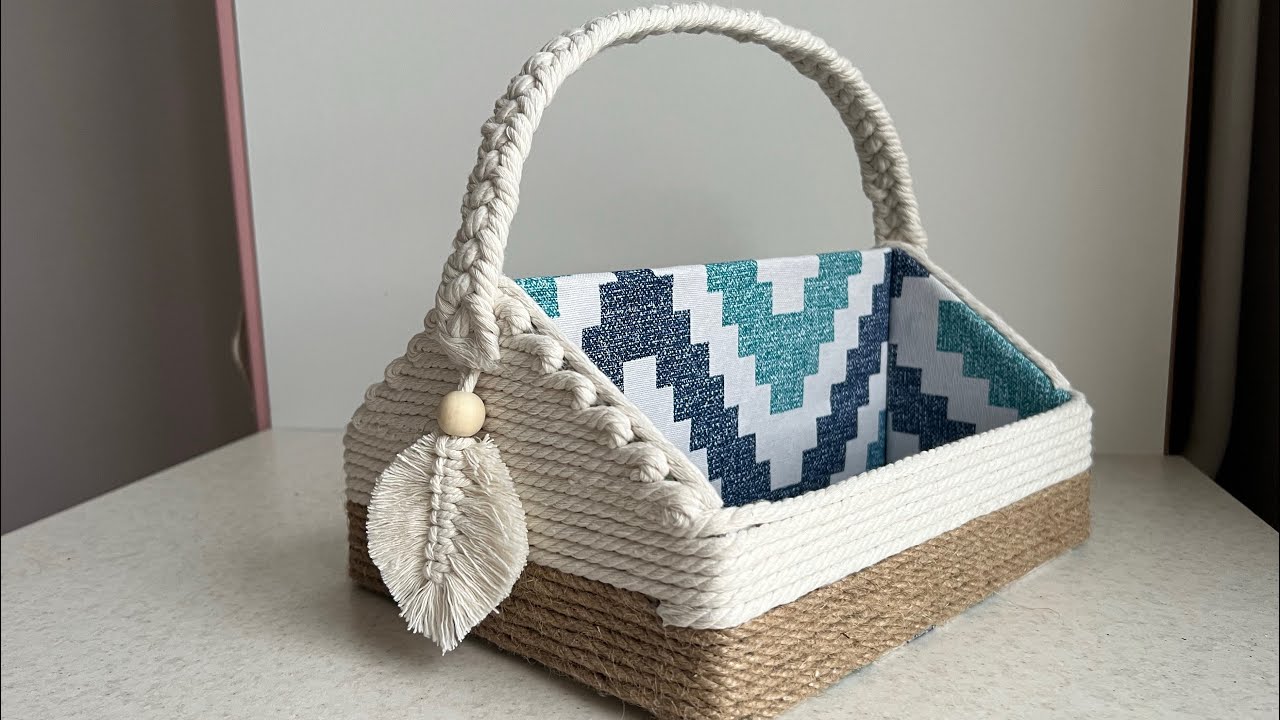
10 Easy Steps to Turn a Shoes Box into a Stunning DIY Storage Solution
10 Easy Steps to Turn a Shoe Box into a Stunning DIY Storage Solution
- Introduction
- Required Materials
- Step-by-Step Guide
- Personalization Ideas
- Common Mistakes
- FAQ
- Conclusion
Introduction
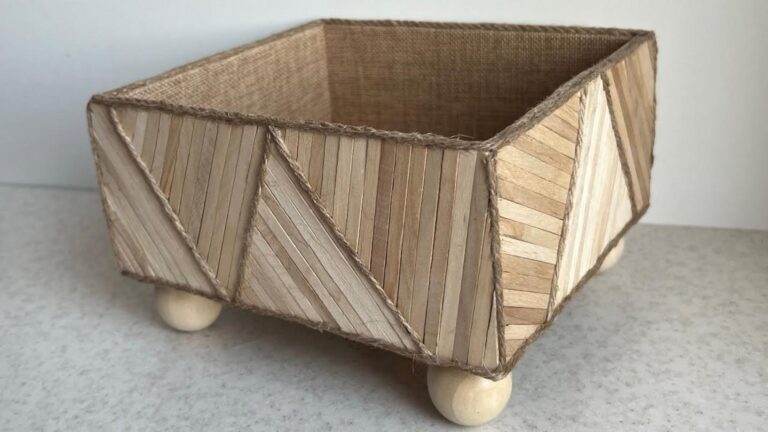
Have you ever found yourself with a pile of clutter that needs organizing but have limited space? A simple shoe box can become an unexpected ally in your quest for a tidier home. Transforming this everyday item into a stylish storage solution might seem daunting at first. However, with a few creative techniques, you can elevate that plain box into a beautiful piece that complements your décor. Keep reading to explore how to make it happen.
Required Materials
Before you dive into this project, it’s essential to gather the necessary materials. Having everything on hand will make the process smoother and more enjoyable.
- One or more shoe boxes
- Craft paper or fabric of your choice
- Scissors
- Glue or double-sided tape
- Decorative items (ribbons, buttons, stickers)
- Optional: Paint or spray adhesive for additional texture
Step-by-Step Guide
Follow these easy steps to transform your shoe box into a stunning storage solution that fits perfectly in your space.
- Clean the shoe box. Ensure it’s free from dust and debris before starting your project.
- Cut the craft paper or fabric to the size needed to cover the exterior of the box.
- Adhere the paper or fabric to the box using glue or double-sided tape, smoothing out any bubbles or wrinkles.
- Cut additional pieces to cover the inside if desired for a fully finished look.
- Embellish the box with decorative items, creating a design that matches your style.
Tips for a Seamless Finish
To ensure a beautiful end result, consider the following tips:
- Use a single cohesive color scheme for a modern look, or mix patterns for a fun and eclectic vibe.
- Experiment with layering different textured materials for added depth.
Personalization Ideas
The beauty of using a shoe box is having a multitude of ways to make it uniquely yours. Here are some ideas to inspire your creativity:
- Paint the box in a solid color or geometric patterns for a fresh look.
- Use washi tape to create borders or designs without the mess of glue.
- Include labels to identify the contents of each box, ensuring easy access to your stored items.
Creative Recycling Options
Consider recycling other materials for even more options:
- Old cereal boxes can take on a similar role but allow for taller storage needs.
- Cardboard dividers from packages can help organize smaller items inside the box.
Common Mistakes
While crafting your shoe box storage solution, avoid these common missteps to enhance your project’s effectiveness:
- Failing to clean the box properly, which can compromise the adhesion of your materials.
- Using too much glue, which can lead to a messy finish and uneven surfaces.
- Neglecting to measure your materials, resulting in misaligned edges that detract from the overall look.
FAQ
What type of shoe box is best for crafting?
Sturdy, closed shoe boxes work best for storage solutions. Look for boxes made from thick cardboard to ensure durability.
Can I use other materials instead of fabric or paper?
Absolutely! You can use wrapping paper, old maps, or even leftover wallpaper for a unique touch.
How can I incorporate this project into my home decor?
Match your storage box color and patterns with your existing décor style or create a focal point that draws the eye.
Conclusion
Transforming a shoe box into a stunning DIY storage solution not only helps with organization but also adds a personal touch to your home. With a mix of creativity and basic materials, you can declutter in style. What will you store in your revamped box? We’d love to hear your ideas in the comments below!