7 Steps to Create Your Own Trendy Rope Cube Keychain in 2026!
7 Steps to Create Your Own Trendy Rope Cube Keychain
- Introduction
- Required Materials
- Preparing the Rope
- Crafting the Cube
- Finishing Touches
- Common Mistakes to Avoid
- FAQ
Introduction
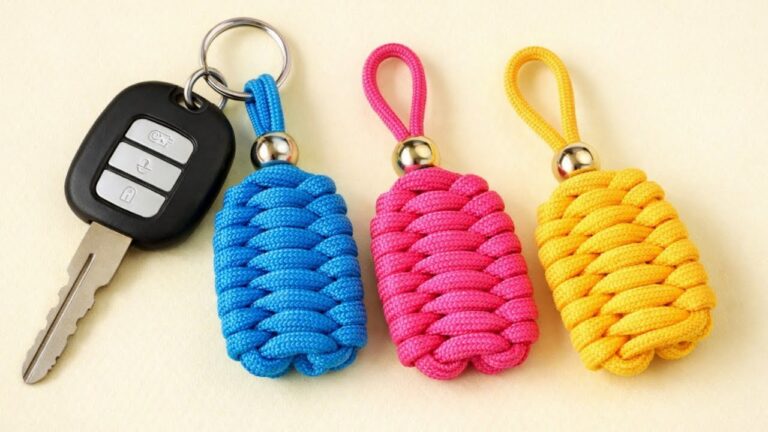
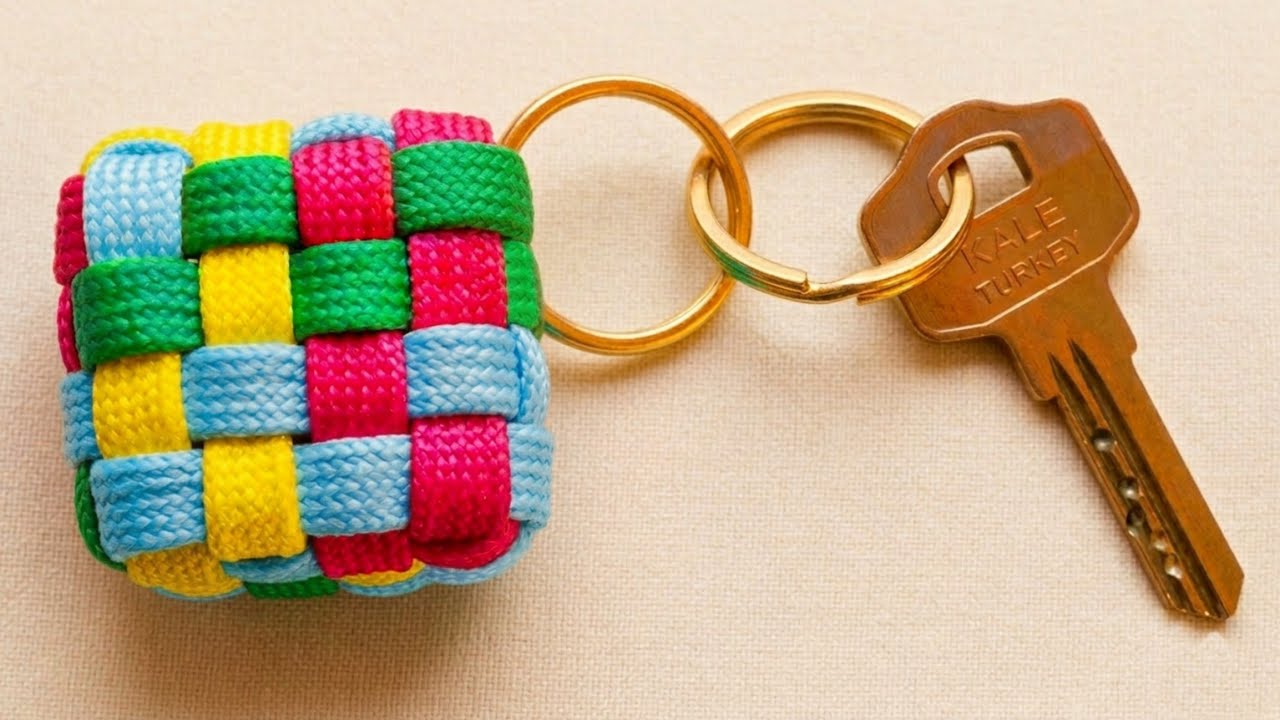
Have you ever lost your keys and felt that panic set in? A unique keychain can not only keep your keys organized but also add a personal touch to your everyday essentials. Creating your own trendy rope cube keychain is a fun and straightforward project that can brighten your day and serve as a conversation starter. Dive into this guide to discover how you can make your own stylish accessory!
Required Materials
Before you start, gather all the necessary materials. Here’s what you’ll need:
- Colorful rope (around 10 feet, depending on your desired cube size)
- Scissors
- Keychain ring
- Hot glue gun and glue sticks
- Measuring tape
- Optional: beads or charms for decoration
Preparing the Rope
Now that you have everything, it’s time to prepare the rope for crafting.
1. Measuring the Rope
Use your measuring tape to cut equal lengths of rope. For a standard cube, you’ll need six pieces of rope, each measuring approximately 15 inches.
2. Choosing the Colors
Select colors that complement each other. Consider vibrant hues for a bold statement or neutral tones for a chic look. This is your chance to personalize your keychain!
Crafting the Cube
With your rope prepared, you can start putting the cube together.
1. Forming the Base
Take four pieces of rope and form a square by connecting the ends. Use your glue gun to secure the corners, ensuring they hold well.
2. Creating the Sides
Attach two more pieces of rope vertically to form the sides of the cube. Again, glue the intersections securely to maintain the structure.
3. Finalizing the Cube
Now, connect the top pieces. Once you’ve secured all corners, your cube should resemble a 3D shape. Touch up any spots where glue may have overflowed.
Finishing Touches
Your keychain is almost complete! Let’s add some personality.
1. Attaching the Keychain Ring
Take your keychain ring and attach it to one of the corners of your cube. Ensure it’s glued well for added durability.
2. Adding Decorations
If desired, thread beads or charms onto the keychain ring to enhance its look. Choose items that reflect your style!
Common Mistakes to Avoid
Here are some common pitfalls to watch out for when making your keychain:
- Not using enough glue: Ensure each connection is secure to prevent breaks.
- Choosing ropes that fray easily can lead to a messy finish. Opt for higher-quality materials.
- Skipping the measuring step: Take your time to measure before cutting for a neat look.
- Forgetting to allow glue to dry properly can result in a weak structure.
FAQ
Can I use different types of rope?
Yes, different types of rope can lend unique textures and looks, but ensure they are durable enough for everyday use.
How long does it take to complete the keychain?
Most people can create the keychain in about 1 to 2 hours, depending on their crafting speed.
Can I customize the measurements of the rope?
Absolutely! Feel free to adjust the lengths to create different cube sizes based on your preference.
Conclusion
Creating your own trendy rope cube keychain is a rewarding project that adds a personal touch to your keys. By following this guide, you can enjoy a unique accessory tailored to your style. What colors will you choose for your keychain? Feel free to share in the comments!