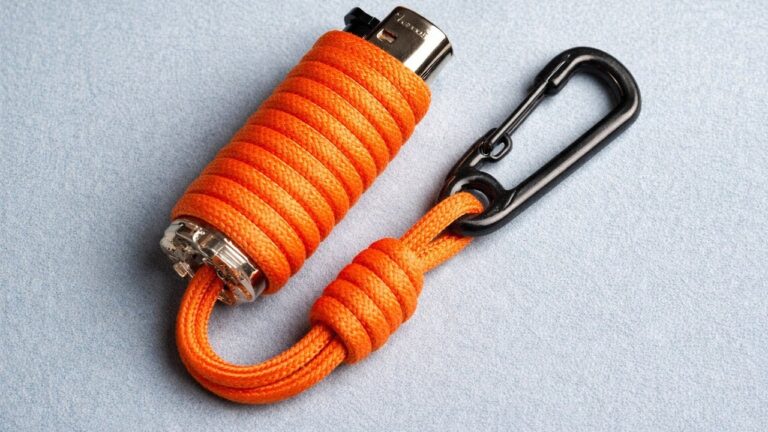
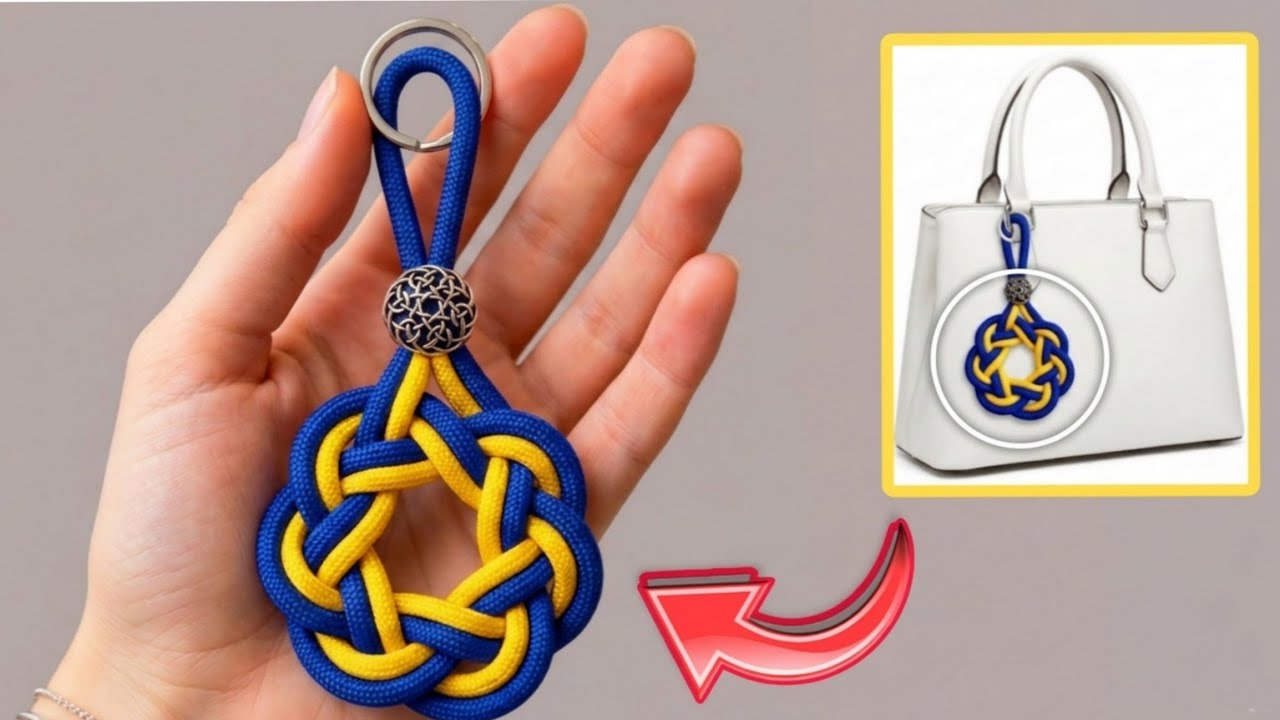
Discover 5 Simple Knots That Transform into Luxurious Keychains You’ll Love!
5 Simple Knots to Craft Luxurious Keychains You’ll Adore
- Introduction
- Required Materials
- Step-by-Step Knot Creation
- Personalization Ideas
- Mistakes to Avoid
- FAQ
- Conclusion
Introduction
Have you ever noticed how something as simple as a keychain can brighten your day? Imagine reaching for your keys and being greeted by a beautifully crafted piece in your hand, only to realize how easy it was to create. By learning to tie just a few simple knots, you can transform ordinary materials into stunning keychains that reflect your personal style. Explore the possibilities of knotting and discover just how enjoyable this potentially new hobby can be.
Required Materials
To get started on your luxurious keychains, gather these essential materials:
- Paracord: Choose various colors for a unique look.
- Keychain rings: These will hold your finished knots.
- Scissors: For cutting your paracord to the desired length.
- Lighter: To seal the ends of the paracord and prevent fraying.
- Measuring tape: For precise cutting lengths.
Now that you have your materials ready, let’s dive into the step-by-step knot creation process!
Step-by-Step Knot Creation
Here are five knots that you can master to make stunning keychains:
1. The Basic Knot
- Cut a length of paracord, about 1 meter long.
- Fold it in half to create a loop.
- Wrap the two strands around your keychain ring.
- Bring the ends through the loop and pull tight.
This knot serves as a great base for your keychain!
2. The Crown Knot
- Start with a 1.5-meter paracord.
- Make an overhand knot about 10 cm from one end.
- Create another overhand knot just above the first.
- With the ends, tuck them through the middle and pull to tighten.
The crown knot adds a luxurious feel with its layered design.
3. The Cobra Knot
- Cut two strands, each about 1.5 meters long.
- Attach one to the keychain ring, leaving a long tail.
- Using the second strand, make a series of overhand knots around the first strand.
- Continue until you’ve reached the desired length.
This knot is not only sturdy but looks fabulous as well.
4. The Solomon Bar Knot
- Prepare two lengths of paracord, one for each side.
- Cross one over the other and wrap underneath.
- Push the end through the loop, tightening gradually.
This knot creates a striking pattern, elevating your keychain.
5. The Fishtail Braid
- Start with three equal lengths of paracord.
- Begin braiding the first strand under and over the others.
- Continue until you reach the desired length, then secure.
The fishtail braid provides a trendy and intricate look to your keychain.
Personalization Ideas
Once you’ve mastered the knots, personalize your keychains in unique ways:
- Color Combinations: Mix different colored paracords for a vibrant look.
- Beads and Charms: Adorn your keychains with decorative beads or charms that resonate with you.
- Length Variations: Experiment with longer or shorter designs to complement different styles.
Each of these suggestions allows you to express your creativity while adding a personal touch.
Mistakes to Avoid
When creating your keychains, be mindful of these common mistakes:
- Cutting too short: Always measure your paracord before cutting.
- Pulling too tightly: Tight knots can strain the cord and make it less visually appealing.
- Ignoring sealing: Always use a lighter to seal the ends of your paracord to avoid fraying.
FAQ
How long should the paracord be for keychains? A length of about 1 to 1.5 meters is generally suitable for most styles.
Can I use other types of cord for keychains? Yes, but paracord is favored for its strength and variety of colors.
Are these knots difficult to learn? Most of them are beginner-friendly and become easier with practice!
Conclusion
Creating luxurious keychains using simple knots can be a delightful way to express your personality and creativity. Whether you prefer classic or elaborate designs, there are plenty of options to explore. What knotting style are you excited to try first? Share your thoughts below!